VIDEO TUTORIAL

-
Fill in your school name and registration details
-
Log in to your account
-
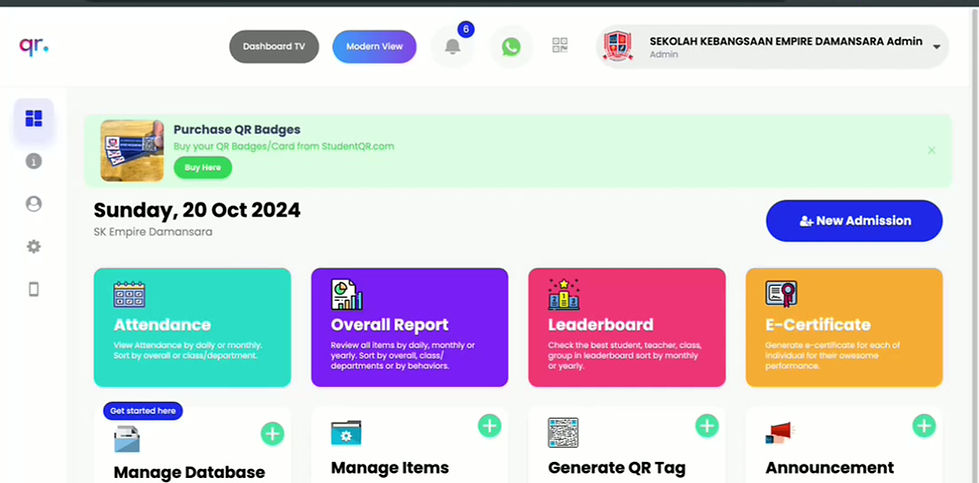
From Home, click Profile (top right)
-
Update your school name, login/password
-
Upload your school logo and Save
2. Import Data from Excel File

-
Import students and teachers in bulk using a single Excel file.
-
Add classes and students directly from the same Excel file.
-
Match each column in your Excel sheet to the correct fields in the system.
-
Save up to 90% of your time when setting up your school.
3. Add Teachers / Supervisors

-
From the Manage Database section, open the Teachers / Supervisor page.
-
Add teachers or supervisors manually, or upload an Excel file to add many at once.
-
Teachers can log in to the Teacher App using their email.
-
The default password is “password” — they should change it after logging in.
4. Create and Add Student Activities

-
Go to the Activities section and click Create Item.
-
Create any activity you want — e.g., Daily Attendance, Check-Out, Helping Teachers, etc.
-
Enter the points to reward students.
-
Click Save.
5. Transfer Students
-
Go to Home > Edit Database > Class / Departments.
-
Find the class and click Manage.
-
You can transfer all students to a new class,
or transfer selected students only. -
Tip: At the end of the year, transfer all graduating students to a class named “ALUMNI” and set the class to Inactive.
This keeps their data forever!
6. Generate Certificate

-
Click the Certificate button.
-
Enter your email and password to log in as admin, then click Log In.
-
Click Fetch Student List and select the students you need.
-
Click Download PDF to download the certificates.