top of page

Seamless IDME Integration for Schools
Accurate and Up-to-Date Records
Time-Saving for Teachers
Seamless Integration for Teachers
Secure and Reliable Access
Better Insights and Monitoring
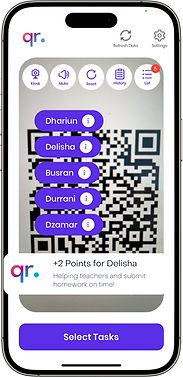
StudentQR Integrated with IDMe

1. Accurate and Up-to-Date Records
Sync student profiles and attendance from IDME instantly.

2. Time-Saving for Teachers
Reduce manual work and focus on teaching.

3. Seamless Teacher Integration
Import data from IDME quickly and effortlessly.

4. Secure and Reliable Access
Keep all data safe, accurate, and accessible.
5. Better Insights and Monitoring
Track attendance, late arrivals, and absences easily.
Connected. Synced. Simplified.
"I'm really impressed with StudentQR, especially their support team. Our IDME records are now integrated with the QR badges, and believe me, our personality has increased exponentially.
Teachers are more relieved now, less work.
Parents also praise the QR badge. It's great! 👍🏻"
Teacher Zulkiflee
Headmaster of SK Taman Bukit Indah JB


bottom of page